How to iron a man's long and short sleeve shirt without arrows?
 A carefully ironed shirt gives its wearer a neat, respectable appearance.
It is especially important to be careful in clothes for people who want to impress others.
Carelessly ironed wardrobe items evoke unpleasant associations, their owner may appear in an unfavorable light.
This article will be about how to iron the sleeves of a shirt without arrows correctly.
Content
How to iron a long sleeve shirt with a regular iron?
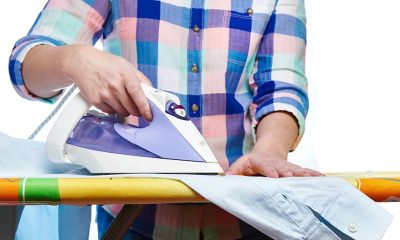
So, how to iron a man's long sleeve shirt without the formation of arrows on them? When ironing shirts, it is more convenient to start with small parts and paired elements.
It is better to iron the collar first:
- The collar is placed on the ironing board with the wrong side up.
- The sole of the iron must perform movements from the corners to the middle - this way it is possible to prevent the formation of folds.
- The buttonhole and areas around the buttons are carefully processed.
- Then turn the part over to iron the other side.

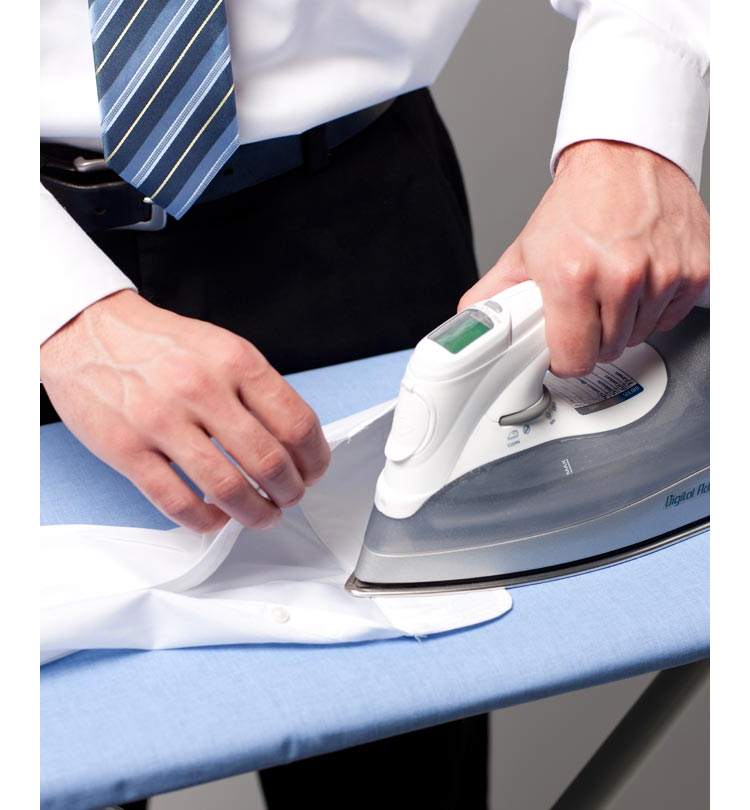
It's time to move on to the cuffs and sleeves:
- The cuffs are laid out with the wrong side up, ironed from the corners to the middle.
- The seamy side does not have an additional layer of fabric to increase density, so it wrinkles a little. To avoid unnecessary folds, you need to iron it closer to the center.
- On the front side, repeat the processing, being careful not to touch the buttons.
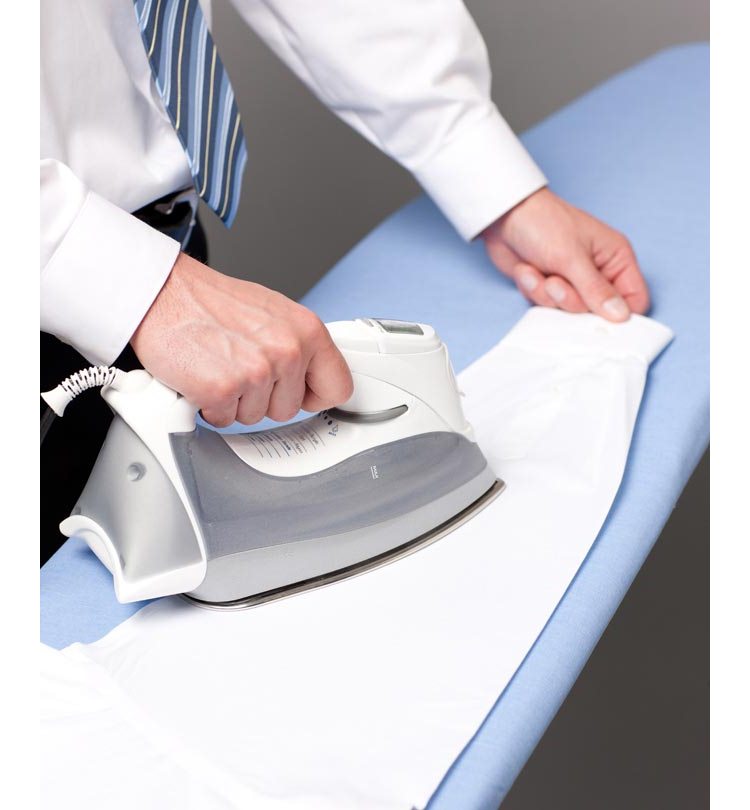
- Then you need to expand the sleeve so that the seam is at the top. When ironing, the fabric is pulled a little, then on one side, then on the other, so that arrows do not form along the edges.
- From the bottom, the sleeve is ironed so that a few centimeters are missing from the cuff.
- When turning the sleeve, it must be held by the cuff and collar. The center of the part is gently ironed. If there are folds on the sleeve, iron them with the tip of the iron.
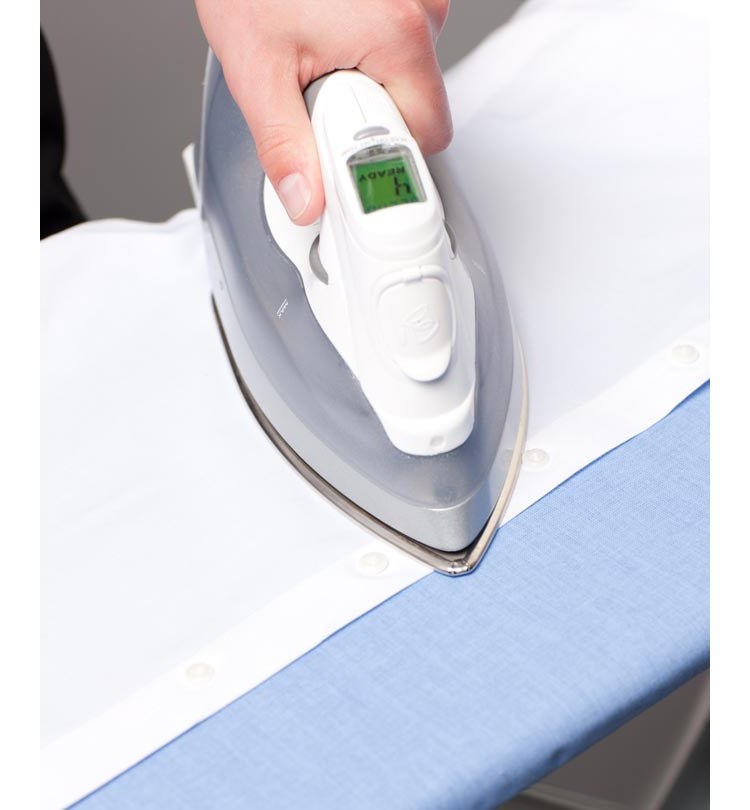
- The sleeve is turned over again, the button should be at the top. Here you need to use the undersleeves - a special small board.
- Put the sleeve on it with the cuff first, then iron the adjacent fabric. The sleeve is pulled a little from the side of the armhole, the fold is ironed a couple of centimeters from the cuff.
- Then you need to iron the fastener strip on both sides, fasten the button and iron it along the junction of the strips.
- Repeat steps 1-5 for the second sleeve.
For ironing the yoke and shoulders shirt you need:
- Place on the tapered end of the board so that the collar points towards the wide one.
- Straighten the fabric and iron the yoke and shoulders, placing the iron parallel to the collar. The seams are processed with his nose.

The next step is to iron the shelves:
- Holding the shelf by one of the edges and the collar, it is placed on the board with the shoulder towards the narrow part.
- First, it is better to iron the shelf on which the buttons are sewn. The space between them is ironed with the tip of the iron.
- Then the shirt is moved so that the side seam of the armhole is on the board. It must be ironed, after which, in the same way, gradually moving, process the side seam, then the back.
- The seams of the yoke and armholes can be pulled a little to help them smooth out better.

After all the details have been ironed, the shirt must be hung on a hanger. The top button is fastened on it - this way it is possible to avoid the formation of folds.
How to iron the short sleeve?
Ironing shirts with short sleeves follows the same pattern. Step-by-step instruction:
- The collar straightened on the board is ironed with the end of the iron. If you want the fold of the collar to look natural, do not iron it.
- Sleeves. Gently lay out on the board with the seam up, first iron the seams, then the sleeves. For convenience, you can pull it over a sleeve or on a roller made of a rolled towel.
- Shelves. Iron without kinking next to pockets and buttons.
- Back. Move the shirt over the board to iron the back from one side seam to the other.
Alternative methods and methods of ironing
 Recently, more and more appliances have appeared that perform the same functions as an iron. Except irons, for ironing shirts you can use steamers and steam generators.
The steam generator, in contrast to a simple iron, has more power. It easily smoothes out creases that the iron cannot do. An appliance called a steam generator can only generate dry steam.
A steamer, unlike a steam generator, produces hot steam. But he is not able to replace the iron - his used to freshen things up and eliminate caked folds, reduce unpleasant odors.
If it is not possible to use special devices, you can give a shirt made of synthetics, chiffon or silk a pleasant appearance without them.
Advice
The easiest to iron shirtsthat have just dried after washing. You do not need to wait for the final drying - the process will be easier.
 It is imperative to study the label sewn to the shirt - it indicates the composition of the fabric and recommendations for its care. Pay attention to the recommended iron temperature.
If there is no label on the shirt, and the composition of the fabric cannot be determined, set the minimum heat on the iron.
Iron, gradually increasing the temperature. Do this until the fabric begins to smooth out. If the iron suddenly starts to slip worse, the temperature must be reducedto cool down a little.
Related Videos
Video instructions for ironing a long sleeve shirt:
Conclusion
Carefully ironed clothes provide a pleasant appearance to their wearer... Human neatness is always highly valued - both in the workplace and in everyday life.


